
(Editor’s note: This post and the downloads were updated on 2018-03-17 to version 1.0.3)
This recipe shows you how to use a $10 gadget as a handlebar mounted Zwift game controller. When mounted on the handlebar of your bike it will give you easy access to 5 keys that can be used to control Zwift without moving your hands away from your handlebar.
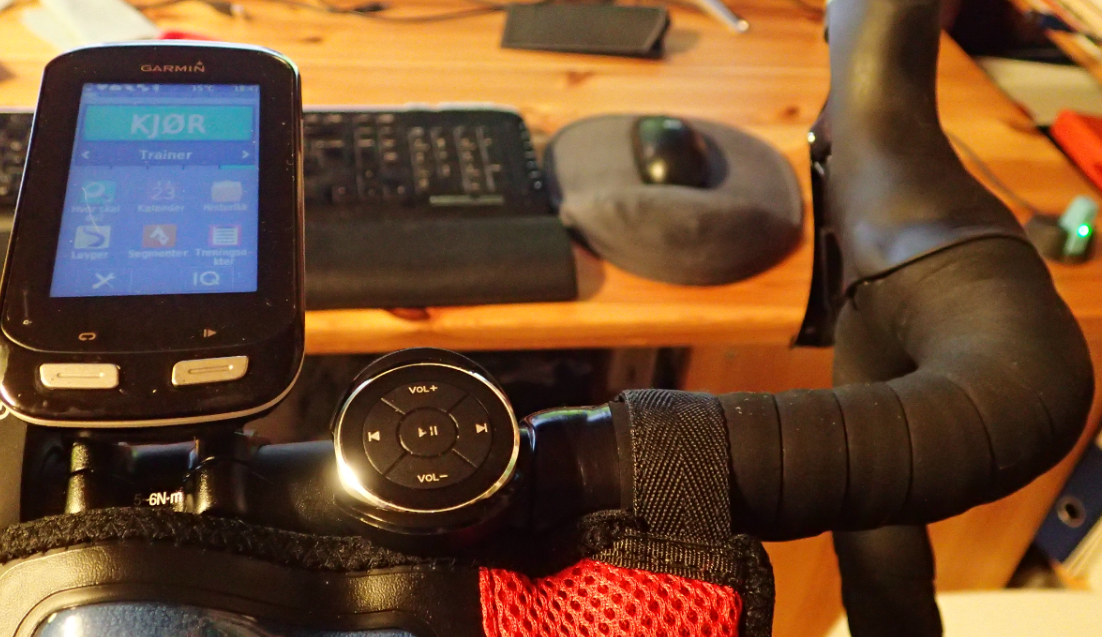
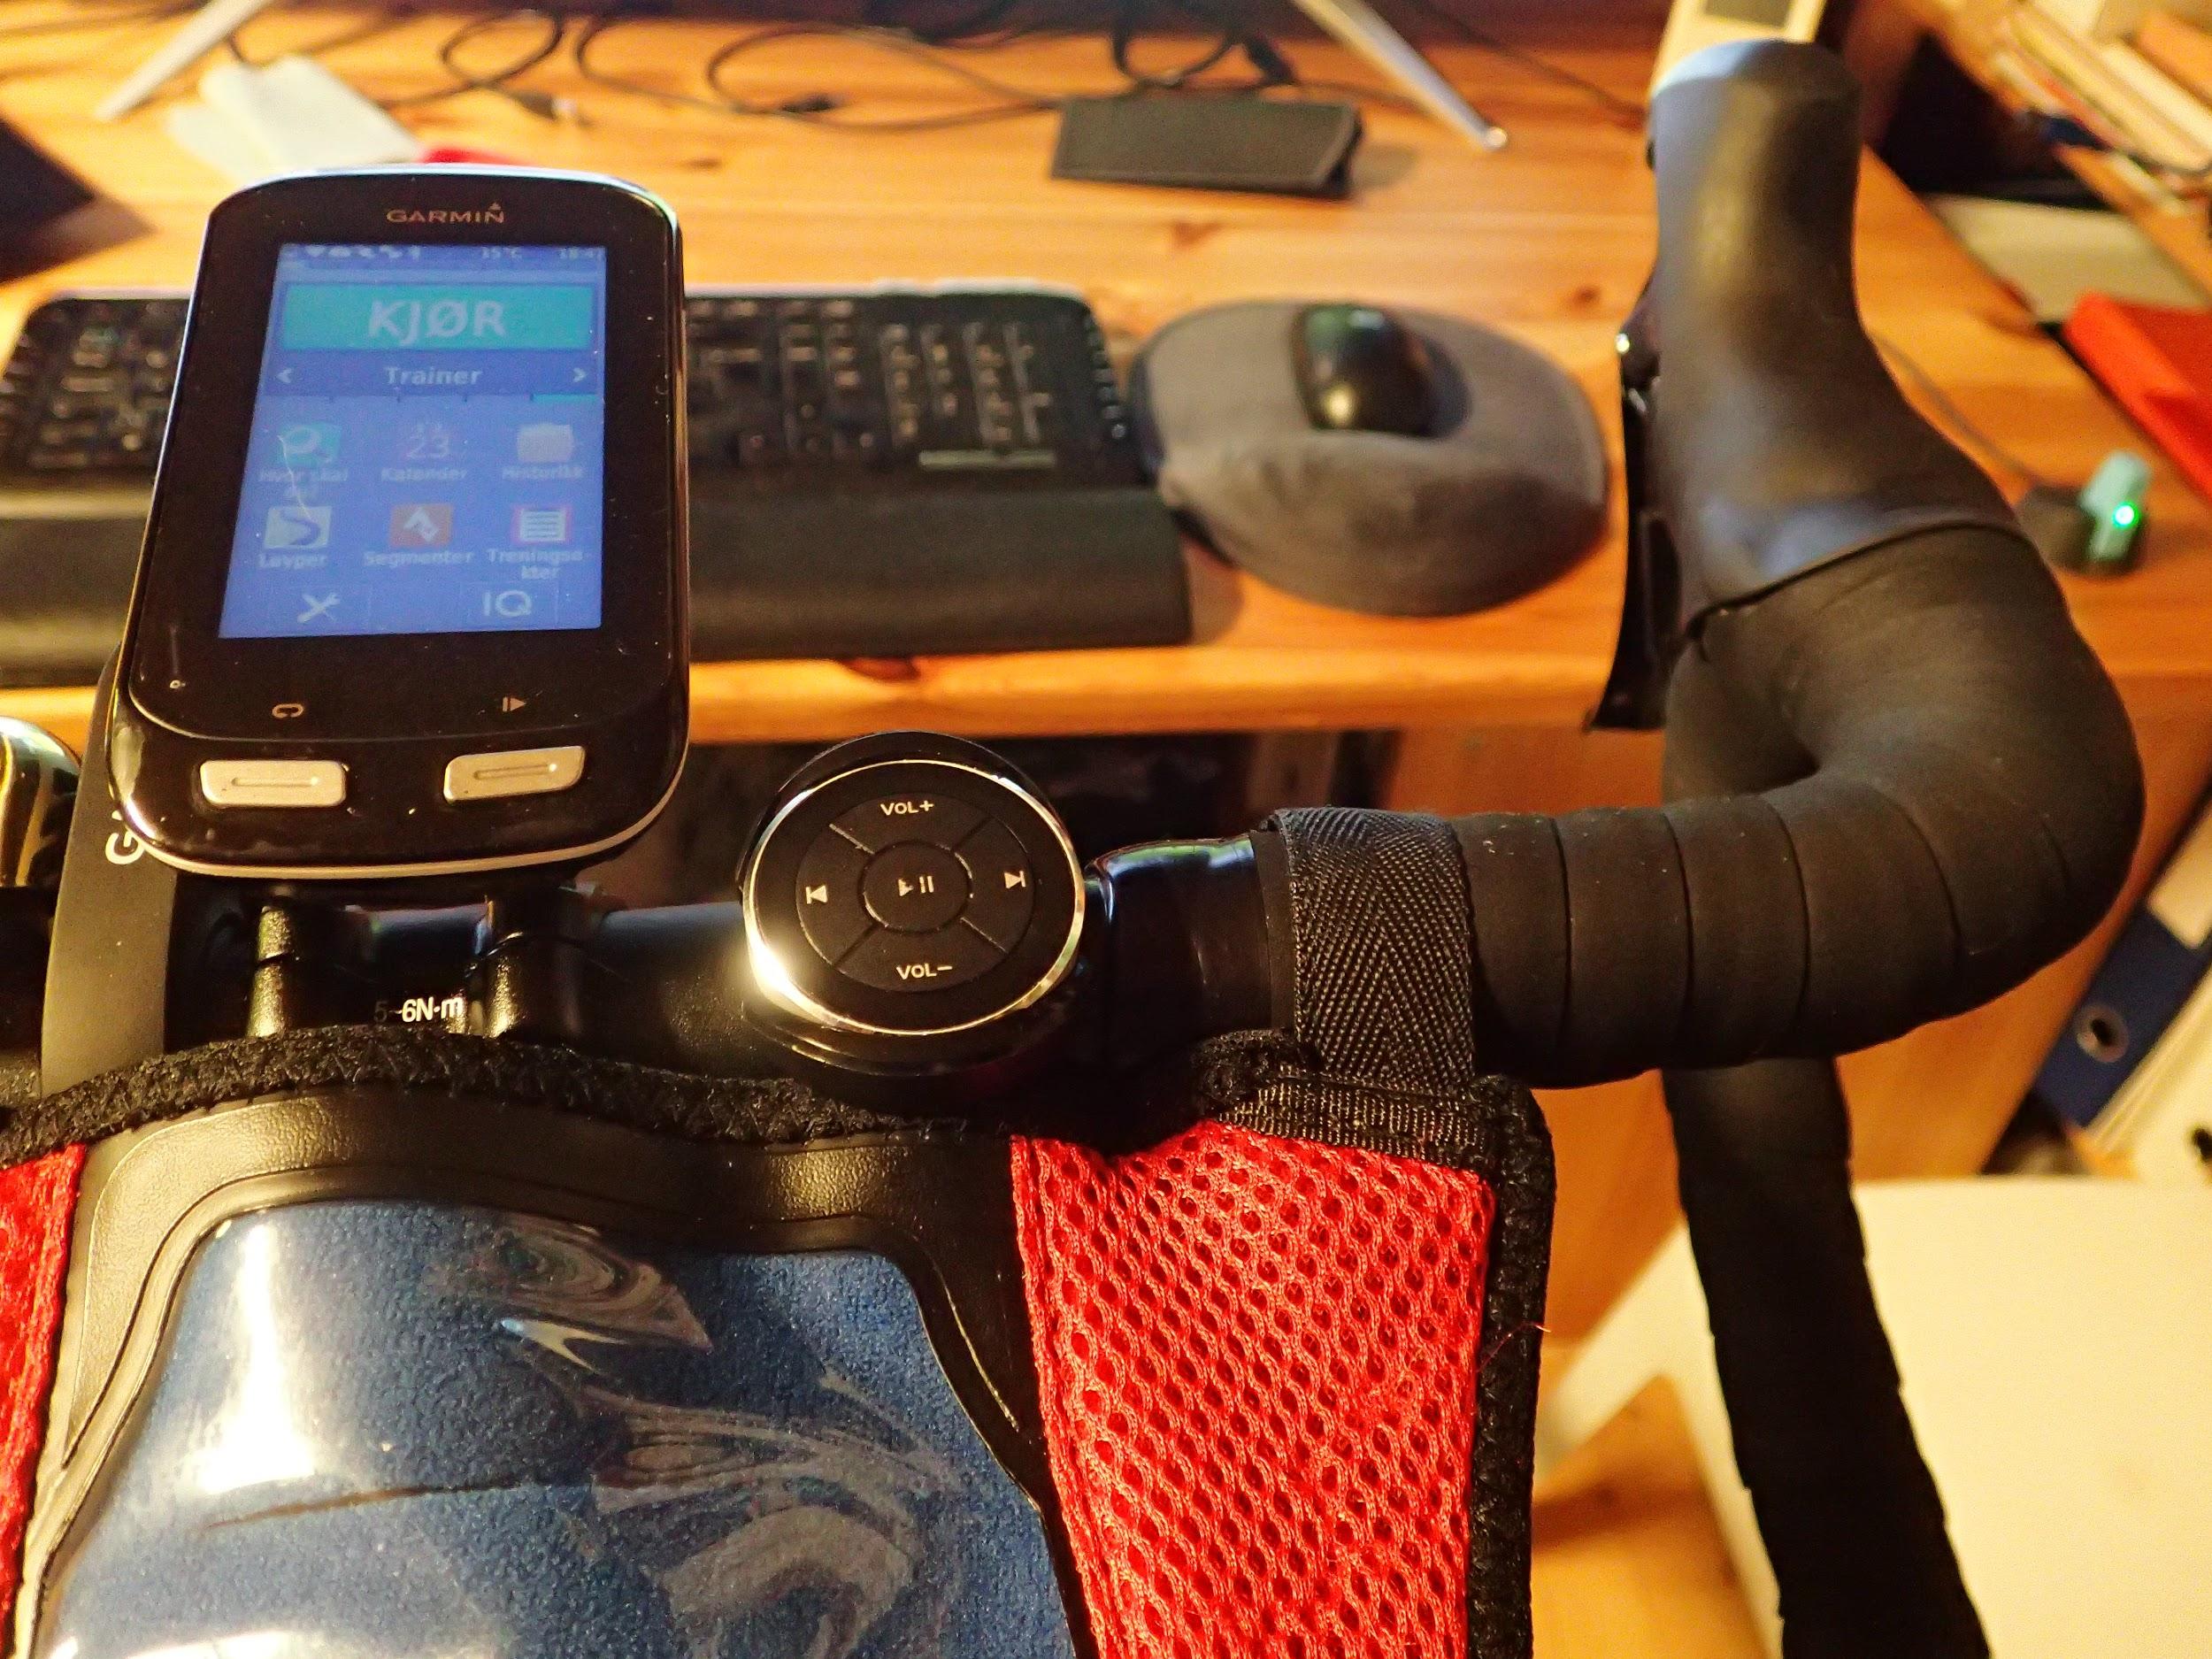
There are several Bluetooth Media Buttons on the market. These are intended to be used with a smartphone and allows you to play/pause, jump prev/next and adjust volume up/down. Some of them also includes a handlebar mount that allows you to just snap it into place on the handlebar on your bike. No assembly is required. And it is easy to use them as a Zwift game controller.
So let’s walk through the requirements, before you rush out and buy a button:
- You have to run Zwift on a Windows computer
- Your computer must have Bluetooth capabilities
- You have to use AutoHotKey to map the controller keys to Zwift input
If you decide to try this, make sure that you buy a button with a handlebar mount.
Step 1 – Pair the Media Button with your Windows computer
Open the Bluetooth pairing window (you can e.g. press Windows-button + I and then open the devices window). Press “Add Bluetooth or other device”, then choose Bluetooth.
While Windows is searching for a new device, you have to push and hold the pairing button on the Media Button for a few seconds. The pairing button is located on the back and you will need a pen or another sharp object to press and hold it. Consult the documentation on your Media Button for further details.
When Windows detects the Media Button, it will show up as BT-005 (could be different for different brands). Just click on it to connect. If Windows is not able to connect, then retry. It may take several attempts to make it connect.
Once connection is successful, verify that it works by pushing the volume up and volume down buttons. You should now see the volume indicator on the screen move up and down.
Unless you try to pair your button with a different device, it will not be necessary to perform the pairing step again.
Step 2 – Download and install AutoHotKey and the script
You can either download and install AutoHotKey separately and then download the ahk-script from this page, or you can download the full installer package.
Option 1: Easy installer
Download “zwift-media-button installer” setup-zwift-media-button-executable.exe – Downloaded 7835 times – 714.61 KB
Option 2: Download script
This is the option to use if you want to change what the buttons do.
Download AutoHotkey from https://autohotkey.com and install it.
Download the script here:
Download “zwift-media-button script” zwift-media-button.ahk – Downloaded 9141 times – 7.43 KB
Step 3 – Mount the Media Button on your bike
Before you mount the Media Button on your bike it is highly recommended that you create some kind of sweat protection. Remember that your transpiration is very corrosive, and may destroy the button unless you protect it.
A simple sweat protector can be made of the plastic insert in the button wrapping. Use a sharp pair of scissors to cut it so that you have a well-fitting transparent cover for your button:


Squeeze the “arms” of the handlebar mount a tiny bit to make room for the button with the sweat protector in place. Then snap it in place on your bike:


Step 4 – Use it!
Make sure that bluetooth is enabled, the ahk-script is running and that Zwift has focus. Get on your bike and place your hands on the handlebar. Now you can concentrate on the workout and control most of your Zwift gaming experience with your thumb.
In the following usage description the multimedia keys will be referred to as Up, Down, Left, Right and Select.
Turning
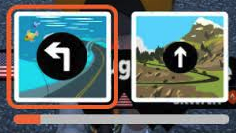
Use Left and Right to choose direction when the turn indicator is visible.
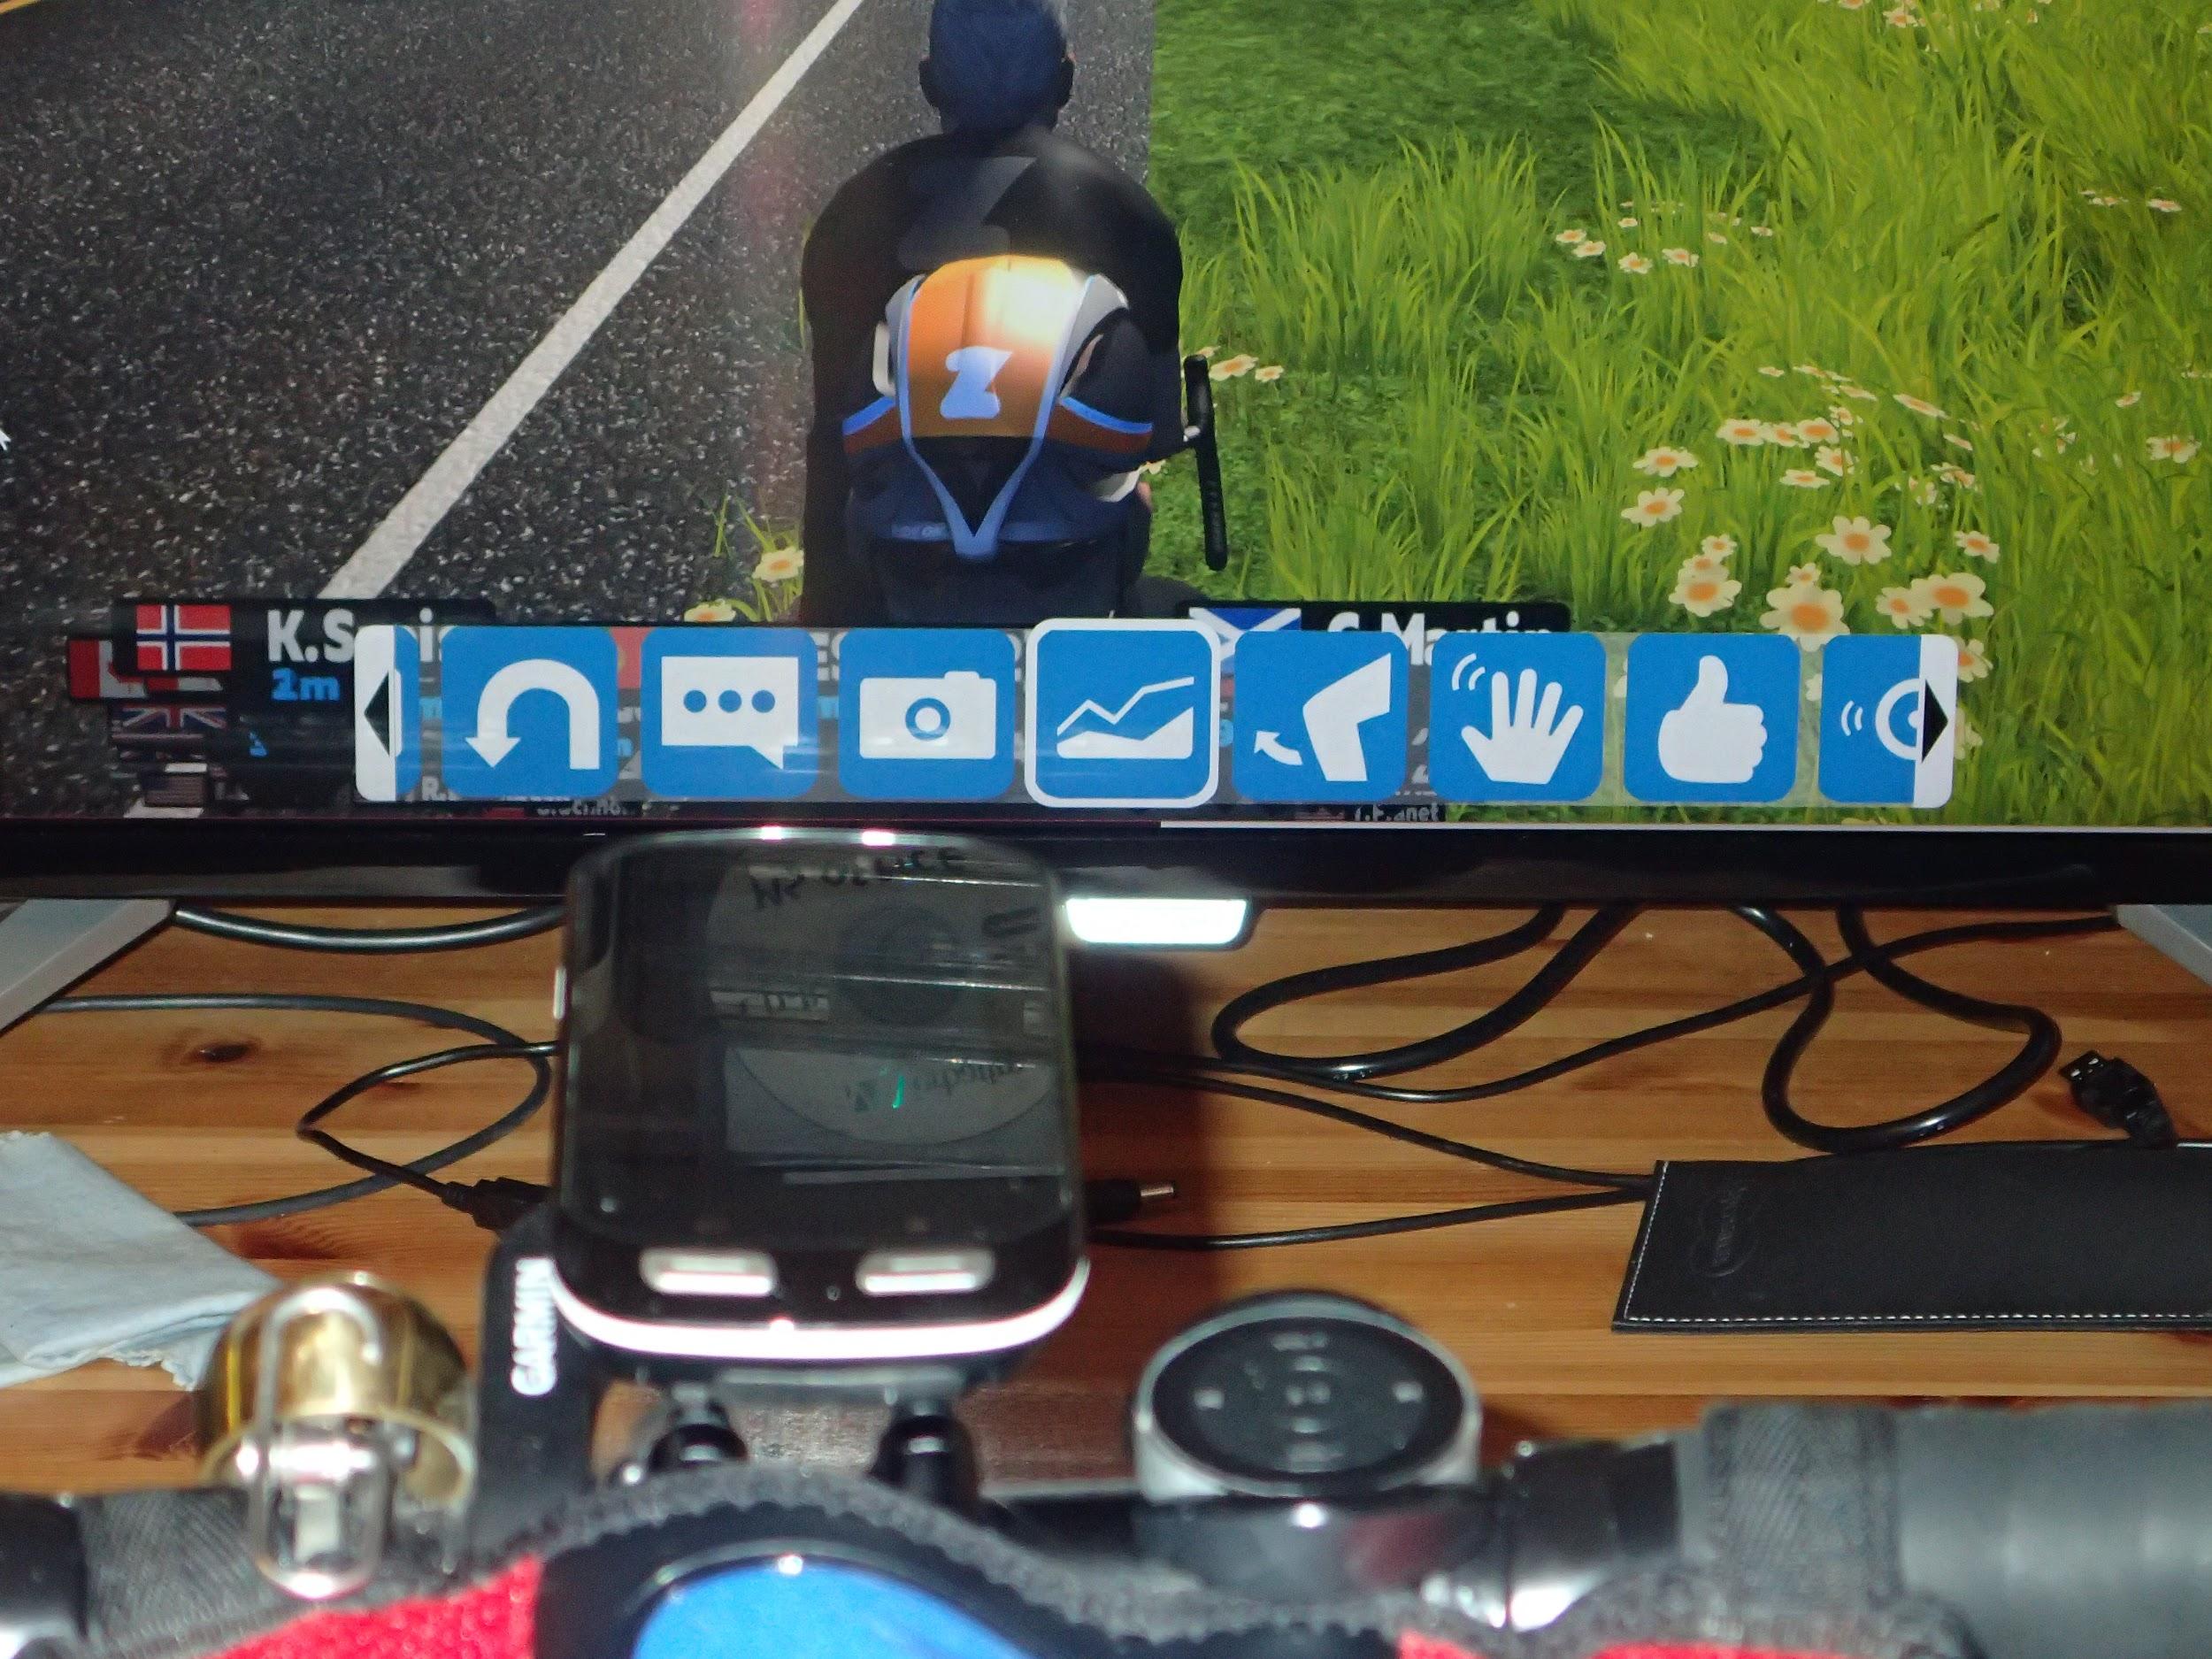
Actions menu

Press and hold Select for a brief moment to open Actions menu. Use Left and Right to navigate the menu. The menu will stay on the screen for only 3-4 seconds, so you will have to make your choice quickly. Press Select to activate your choice.
The Actions menu makes it possible to do the following:
- Video camera. Repeatedly pressing Select (while the Actions menu is visible) will cycle through camera angles 1-8.
- Perform U-turn
- Open group message box. You may close the message box by pressing Select again if you opened it by mistake.
- Camera. Take picture (selfie)
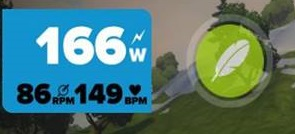
- Toggle power/HR graph
- Flick Elbow
- Wave hand
- Sounds
- Ride On!
- Bell
- Hammer Time!
- I’m Toast!
- Nice!
When in workout mode, there are also options in the Actions menu for:
- Pause workout
- Skip workout block
- Temporarily adjust intensity up or down
It is also possible to press Select to reactivate the last choice when the Actions menu is not visible (for some reason this does not apply to switching camera angles).
RideOn!
If there is an orange thumbs up next to a rider in the Riders Nearby list, be quick and press Up to give a RideOn! This will give the big blue thumbs up RideOn!
Press and hold Up for a brief moment to give a RideOn! to a rider in front of you. Note that this will cause Zwift to switch to Fan view mode for a few seconds, and that it is a bit unpredictable who receives the RideOn!
Power Up
Press Down to activate Power Up.
Minimap
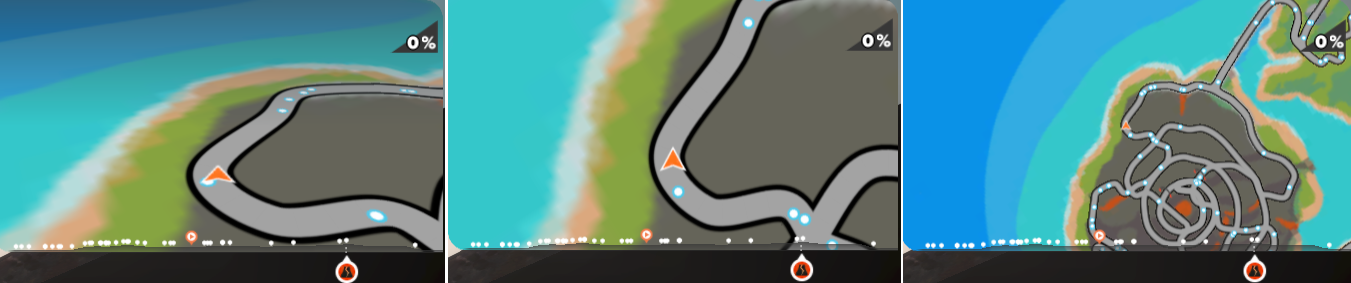
Press and hold Right for a brief moment to switch minimap view.
Volume
The Media Button also allows you to easily adjust sound level.
Press and hold Left for a brief moment to open the volume level bar. While the volume level bar is visible, use Right and Left to adjust volume up and down.
Since the script hijacks the Volume Up and Volume Down keys, it is necessary with new key combinations for adjusting volume on an ordinary keyboard. Use the following key combinations. Use the following key combinations to adjust volume on your ordinary keyboard when the script is running:
- Shift + Volume Down – adjust volume down
- Shift + Volume Up – adjust volume up
Stopping the script
When you have finished Zwifting, you can terminate the AutoHotKey script with the key combination Ctrl-Shift-Q.
Things to be aware of
- The Media Buttons are not waterproof, so be careful and do not expose it to dripping sweat.
- If you accidentally open the Game menu when the orange Menu button is visible in lower left corner, just press Select again to go BACK to the game.
- There seems to be a bug in Zwift in handling the Actions menu, causing Zwift occasionally to reactivate the last action in stead of the selected one.
- If not used for a couple of minutes, the button
- enters some kind of sleep mode. When pushing a key, there may be not be immediate reaction or it may be necessary to press the key once again to make it react.
Where do I find a Media button?
Search eBay for Media buttons:
https://www.ebay.com/sch/i.html?_nkw=bluetooth+media+button+handlebar
Changes and updates
Please visit this page again to check for changes or updates. Since parts of the script relies on the layout of Zwift, it may be necessary to do adjustments after Zwift updates.
Version history
1.0.3 – 15.03.2018 – Added volume control, moved minimap switching to Right button to avoid accidentally activating power up, fixed RideOn handling on wide screens
1.0.1 – 01.03.2018 – Initial version


I tried it with the exe script and all that happens when I press the Play/Select button is internet explorer launches.
This one appears to be waterproof, tho it’s a bit more expensive.
https://www.amazon.com/Chubby-Buttons-Splash-Resistant-Smartphone-Snowboarders/dp/B07FBQ3PCF/ref=sr_1_4_a_it?dd=I08q-4uP5ma2xYjzkXmbGg%2C%2C&ie=UTF8&qid=1548332327&sr=8-4&keywords=bluetooth+media+button&refinements=p_96%3A10155283011#customerReviews
Is this windows specific or compatible with Mac
The software/scripts are only Windows compatible, unfortunately.
After I cam up with the exact same solution and digging around, I worked out how to achieve the same thing on a mac using Karabiner:
https://onemanengine.com/10-dollar-zwift-solution/
@Jarl, feel free to use my content/screenshots so mac users also get a working solution. Just give me mention and link back.
Really impressed with this idea but i’m having a few issues with getting it to work. pressing play/pause opens the menu (but doesn’t close it) and nothing else seems to do anything – are there any troubleshooting suggestions?
This piece of software was created before Zwift launched the companion app. I would recommend that you install the companion app on your mobile and mount your mobile on your handlebar instead. The Zwift companian app will give you much better control over the game, than what you can achieve with the bluetooth button.
If you still want to try the bluetooth button, I can take a look at it and see if anything in the game has changed and caused it to not work anymore.
Thanks I’ve mainly been wanting to set it up a bit like a sprint shifter button for power ups so I dont have to take my hands off the shifter.
Not swift related, but wonder if anyone has done something like this to control a smart trainers resistance remotely. The Wahoo app sucks when you’re sweaty and using an app not connected to the smart trainer, like Peloton or Fitness+
Any chance of using this for the new steering functionality?
how can i prevent windows from listening to this keystrokes ? because this bluetooth button device will act like a media control remote (pressing pause will pause music, pressing back and forward will skip music tracks and so on).
autohotkey/eventghost should have exclusive keyinput from this device. so i need to make windows stop listing to it.
please help
i reply to my own question 🙂
Im using powertoys to deaktivate this special media keystrokes in Windows.
An other way would be to completely deactivate the HID Service (in this case Windows dont respond to any Media Controls) but i dont want this.
Also im using Eventghost instead of Autohotkey because i found a way to get around detach/attach problems from the Bluetooth Media Control (the Button Remote is going to standby to save battery life)