
This is not about the power you put into the pedals ;). Instead, this article shows how to optimise the power settings of your Windows computer.
Windows 10 come with a few pre-configured power plans. The default Balanced power plan can be OK for normal computer usage, but for the best performance when zwifting you need a High performance power plan which does not try to limit CPU utilisation in your computer.1
So, here are the steps to ensure that your computer uses a High performance plan.
- Choose the High performance power plan.
- If that fails: Restore a missing High performance power plan
- If that also fails: Create a High performance plan
Choose the High performance power plan
Open Settings – Power & sleep

Choose Additional power settings:

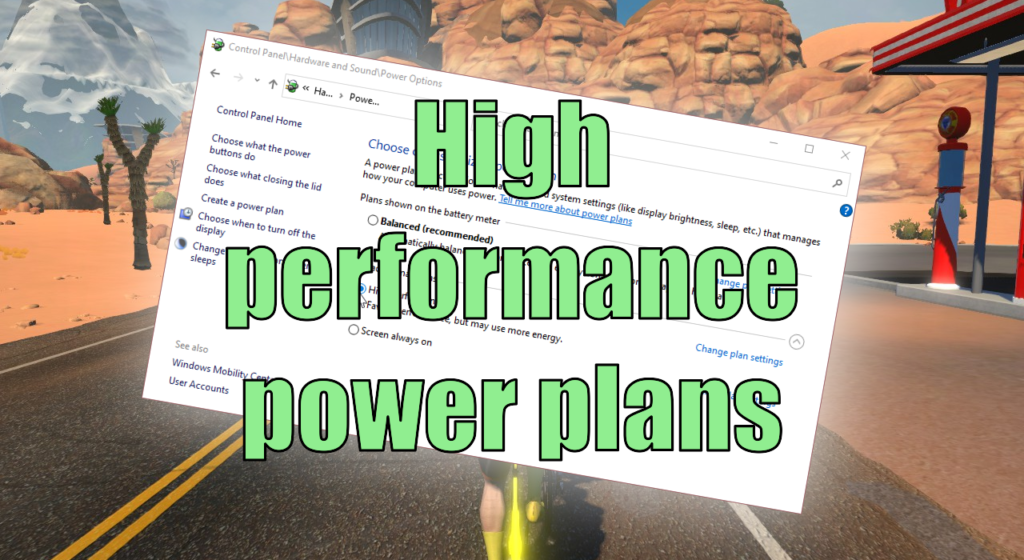
If the Control Panel > Hardware and Sound > Power Options window you simply select the High performance option (if there is one), and you are done.
Restore a missing High performance power plan
What if there is no High performance power plan to choose (yes, it can happen)?

Depending on your computer you will only have the Balanced power plan available by default, but you can most likely create the High performance plan like this:
Launch a command prompt (use Windows search to find the Command Prompt app).
In the Command Prompt windows, paste the following line and press Enter:
powercfg -duplicatescheme 8c5e7fda-e8bf-4a96-9a85-a6e23a8c635c
Open or reload the Power Options window and select your new High performance plan.

If you still do not see a High performance plan, on your computer you will have create your own High performace power plan with the next steps, so read on2.
Create a High performance plan
If the above steps failed, here is how to create a custom High performance plan for a Zwift computer:
Choose Create a power plan in the left side panel of Control Panel > Hardware and Sound > Power Options.

Select the High performance option, name you power plan, and press Next.

You may want to change the basic settings, so the computer does not go to sleep or turns off the display so soon, but this is less important.
Click the Create button.

Now you have created a High performance power plan (this one was named FULL POWER). It will automatically be selected as the active power plan.

Select Change plan settings, and in the Edit Plan Settings dialogue select Change advanced power settings.

In the advanced settings you can see that Minimum processor state when Plugged in is set to 100%. This gives you the best possible use of your CPU when zwifting (assuming you run with your computer connected to a power outlet).
You can change the following advanced setting to prevent USB devices from suspending. It may not be a problem if you do not, but it should not do any harm, either:

Change USB selective suspend setting to Disabled and press OK.
That was it.
- As pointed out by Dave Higgins in the Facebook group ZPCMR – Zwift PC Master Race you are likely to experience stuttering otherwise. [↩]
- See the linked article at Ten Forums for more explanation of this if interested: https://www.tenforums.com/tutorials/110372-restore-missing-default-power-plans-windows-10-a.html [↩]


Basically what do you do if all 3 of these steps don’t work?? And you still can’t find high performance settings??
It sounds strange if all three steps fail.
If you mean that you do not have an ‘High Performance’ option to choose from in step 3, you can create a new power plan based on e.g. ‘Balanced’ and tweak that. Hope this helps.